


In this guide, I'll show you how to build a custom 19-inch studio sidecar rack from scratch, giving you additional rack space without having to buy an expensive pre-built solution.
Like many studios, I'd quickly run out of rack space. Rather than changing the existing setup, I decided to build another sidecar identical to the two already in my studio.
The design is relatively straightforward and can be built using readily available furniture board, corner brackets, rack rails and a few basic tools.
Below you'll find the complete build process, measurements and materials I used, along with photographs from each stage of the project.
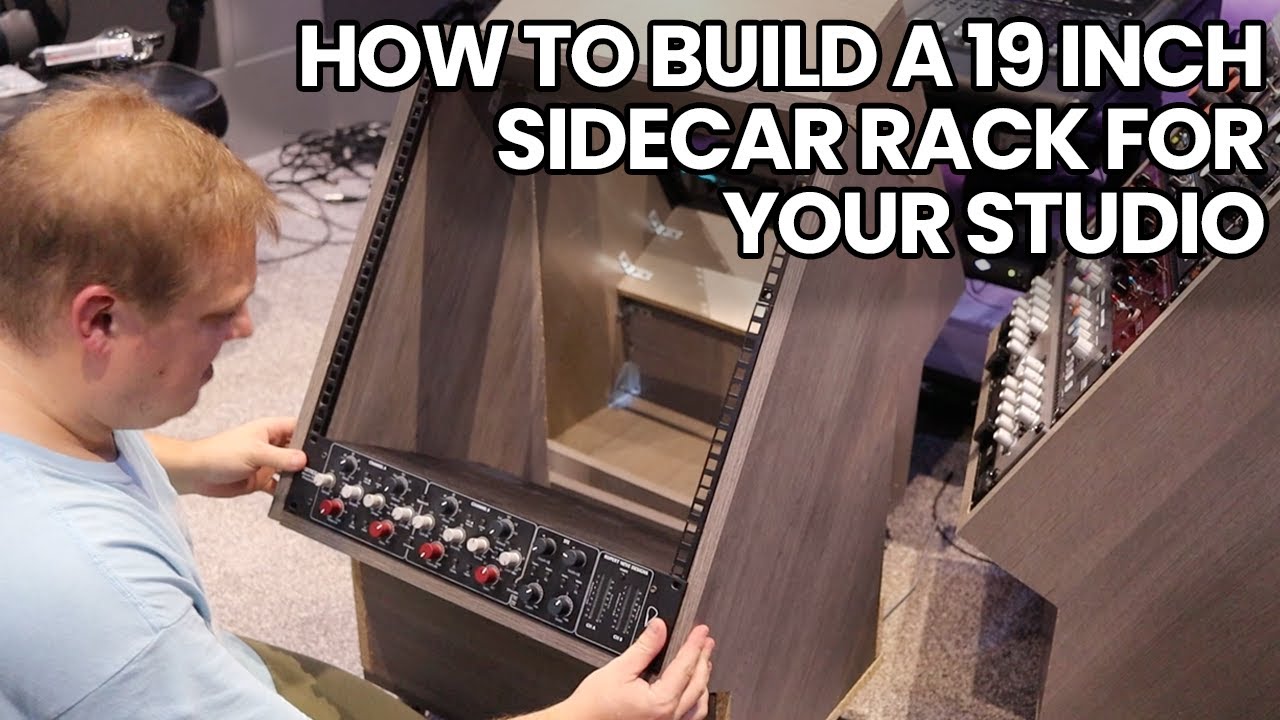
The finished rack:
Watch the Full Build
What You'll Need
Cut the Side Panels
Begin by cutting two side panels from the 600 mm wide furniture board. These form the main structure of the sidecar and determine the overall height and depth of the finished rack.

Cut the Internal Supports
Next, cut three pieces from the 200 mm wide furniture board. These sections will be used to create the upper and lower structure between the two side panels.
Top Section
525 mm × 200 mm
Support Section
490 mm × 200 mm
Support Section
490 mm × 200 mm

Cut the Base
Cut the base from the 400 mm wide furniture board to a finished size of 525 mm × 400 mm. The wheels will later be attached directly to this panel.

Cut the Rear Support
Cut a final piece of furniture board measuring 490 mm × 100 mm. This will eventually be attached at the rear of the lower section to help create the storage tray.

Assembling the Sidecar
Attach the Wheels
Attach all four wheels securely to the underside of the 400 mm wide base.
Attach the Side Panels
Fix both side panels to the base using the metal corner brackets.
Add the 490 mm Supports
Attach the two 200 mm × 490 mm sections between the side panels using the corner brackets.
Install the Top
Attach the 200 mm × 525 mm top section to complete the upper structure of the sidecar.
Create the Lower Tray
Attach the 100 mm × 490 mm rear section using corner brackets to complete the lower storage tray.
Install the Rack Rails
Position and securely screw the 12U rack rails to each side of the rack.
Finish the Edges
Apply the iron-on edging tape to any exposed cut edges for a cleaner, more professional finish.
Install Your Equipment
Once everything is secure, load the rack with your outboard equipment and integrate it into your studio.

The Finished 19-Inch Sidecar Rack
Once complete, you've got a purpose-built 12U sidecar that provides considerably more rack space while keeping your outboard equipment within easy reach from the listening position.
Building the rack yourself also means you can adapt the dimensions, finish and layout to suit your own studio rather than trying to make an off-the-shelf rack fit around your existing setup.
If you're constantly running out of rack space like I was, this is a relatively straightforward studio project that can make a big difference to how your equipment is organised.